Kako povečati zaslon svojega Nexusa 6
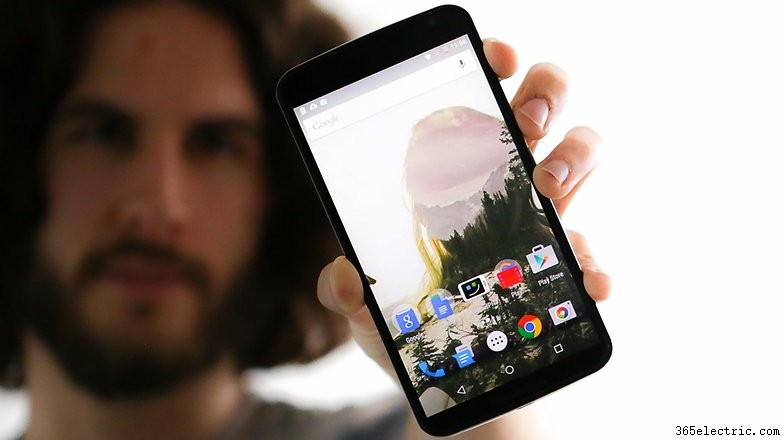
Nexus 6 ima hektarje zaslonov, vendar to ne pomeni, da si ne želimo še malo več. Zato vam bom danes pokazal krasen majhen trik za povečanje zaslona vašega Nexusa 6. To je zelo preprost postopek in ne zahteva posebnih orodij ali denarja. Prav tako je enostavno reverzibilen. Začnimo torej z razbijanjem in poskrbimo, da bo zaslon vašega Nexusa 6 videti še bolj prostoren.
- Nasveti za Nexus 6
- Novice o posodobitvah za Nexus 6 Android
Seveda fizično ne spreminjamo velikosti zaslona vašega telefona. To bi bilo noro. Naredili bomo to, da bomo spremenili ločljivost zaslona, da boste lahko nanj postavili več, kar bo dalo iluzijo večjega zaslona.
Izvorna ločljivost zaslona telefona ni vedno enaka ločljivosti zaslona. Pri Nexusu 6 je izvorna ločljivost 493 dpi, vendar je v sistemu nastavljena na 560.
Skoči na razdelek:
- Nekorenska metoda (z uporabo ADB)
- Korenska metoda (urejanje build.prop)
- Super enostavna metoda goljufov
Kaj naredi spreminjanje gostote zaslona?
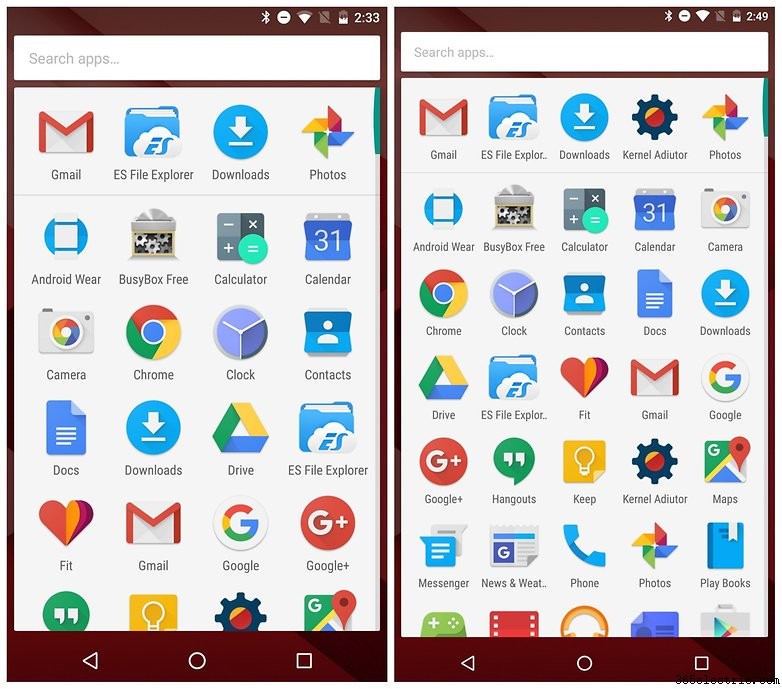
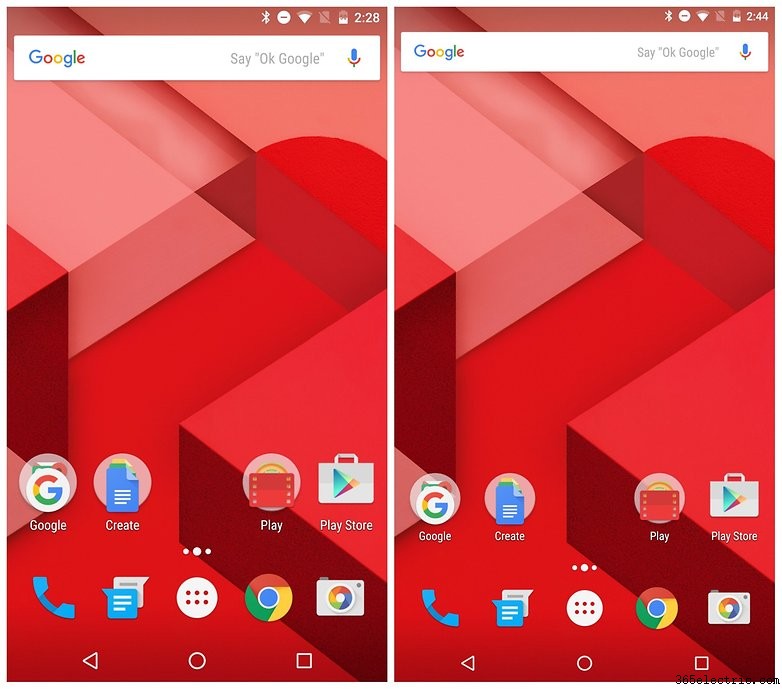
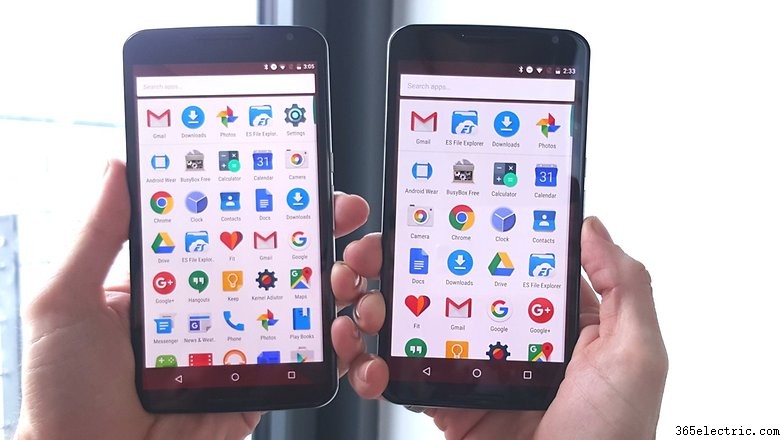
Če spremenite gostoto zaslona, naredite nekaj stvari:rahlo zmanjšate velikost besedila in ikon, zaradi česar se zdi, kot da je na zaslonu veliko več prostora. Doda tudi dodatno vrstico in stolpec ikon v predal za aplikacije, kar pomeni, da boste imeli pet aplikacij namesto štirih in boste lahko videli sedem vrstic namesto običajnih šestih.
Če tako kot jaz mislite, da je vse na zaslonu Nexusa 6 le nekoliko preveliko, znižanje ločljivosti zaslona stvari zaostri, hkrati pa vam da več prostora za dihanje. Preprosto si oglejte spodnje posnetke zaslona drug ob drugem. Najboljše pri tem je, da lahko spremenite dpi na poljubno, in to počnete, dokler ne najdete tistega, ki vam najbolj ustreza, ali pa ga kadar koli preklopite nazaj na prejšnje stanje.
Kako spremeniti gostoto zaslona Nexusa 6
1. način:uporaba ukazov ADB (root ni potreben)
Če vaš Nexus 6 ni zakoreninjen, lahko svojo gostoto spremenite v nekaj minutah z ukazi ADB. Za to boste potrebovali Android Debug Bridge nameščen na vašem računalniku. Kot pove že ime, zagotavlja most med računalnikom, kjer vnašate ukaze, in telefonom, kjer se ti izvajajo.
1. Na vašem Nexusu 6 omogočite odpravljanje napak USB v Možnosti za razvijalce . Če želite omogočiti Možnosti razvijalca , pojdite na Nastavitve> O telefonu in tapnite Številka zgradbe sedemkrat. Nato naredite korak nazaj in videli boste Možnost razvijalca s na dnu vaših Snastavitev meni. Pojdite sem in omogočite odpravljanje napak USB .
2. Prenesite ADB Tools v svoj računalnik, če jih še nimate.
3. Povežite svoj Nexus 6 z računalnikom s kablom USB.
4. V računalniku odprite okno Windows Explorer in odprite mapo ADB Tools.
5. Na praznem mestu v mapi držite tipko Shift in z desno tipko miške kliknite. Izberite Odpri ukazno okno tukaj .
6. Make sure your Nexus 6 is being recognized by typing the following into the command window.
adb devices
7. You should see a number in the command window identifying your Nexus 6. If you don't you need to install the drivers for your Nexus 6. Try the Google USB Driver or Koush's Universal ADB Driver. Once you've got the drivers installed, repeat the ADB command and proceed once your Nexus 6 is recognized.
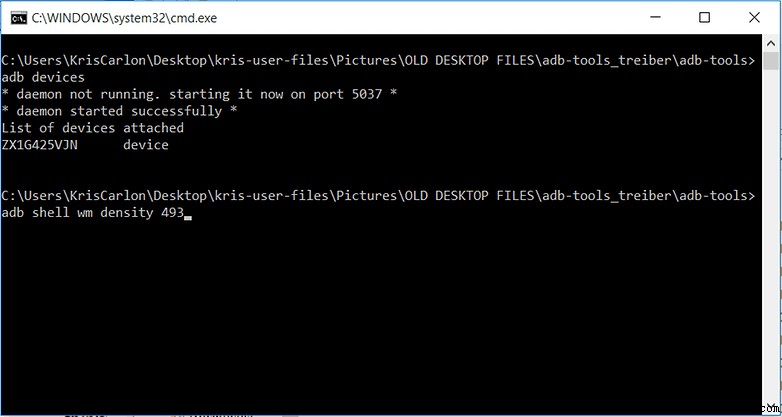
8. Type the following to set your Nexus 6 dpi to 493 (its native density). You can substitute any number you like – more on this later – but I like 493.
adb shell wm density 493
9. Reboot your Nexus 6 to see the effect in action. Every change of dpi will require a reboot.
10. If the font size is a bit too small you can go to Settings> Display> Font Size to change it. But you'll now have smaller icons on the home screen, more space around them and more visible app icons in the app drawer.
11. You might experience some graphical weirdness in some apps. This is normal, because you've tweaked the default settings. Finding a setting where you can live with a little weirdness or eliminate as much as possible is your goal, but this will depend on how much you want to change your screen and how many bugs you can live with.
12. If you want to change things back to default, just open the command window again and type.
adb shell wm density reset
13. Other recommended settings are 492 (even numbers are generally better), 480, 500 and 520, but again, fine tune as you need to. Just remember to restart after each change. The lower the number the smaller things are on screen and the more space you have around them.
Method 2:editing the build.prop file (requires root)
If your Nexus 6 is rooted, changing its screen density is even easier. Just install ES File Explorer and enable Root explorer in the left-hand navigation pane. I prefer this method because I've not experienced any of the visual glitches that are occasionally reported using the ADB process above.
1. Launch ES File Explorer on your rooted Nexus 6.
2. Ensure Root explorer is enabled in the navigation pane.
3. Navigate to /device/system
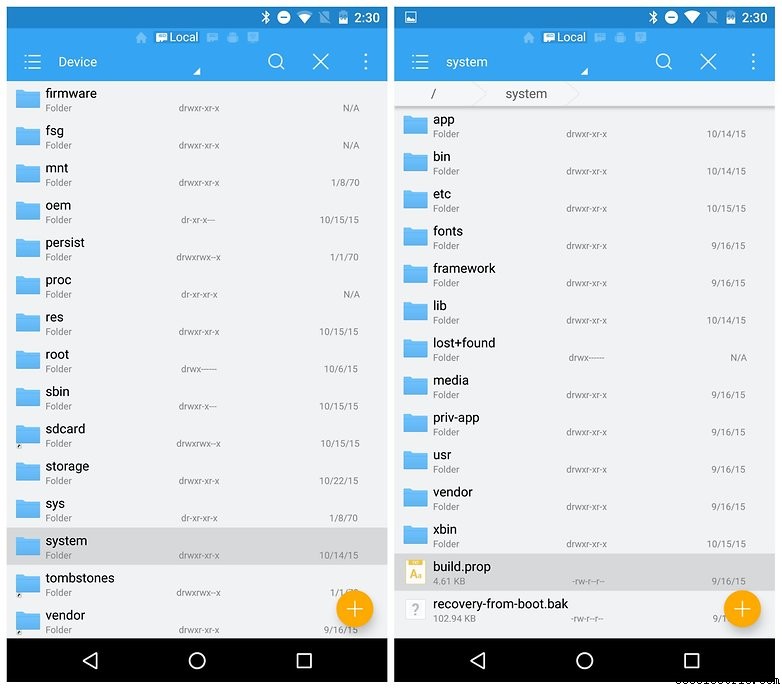
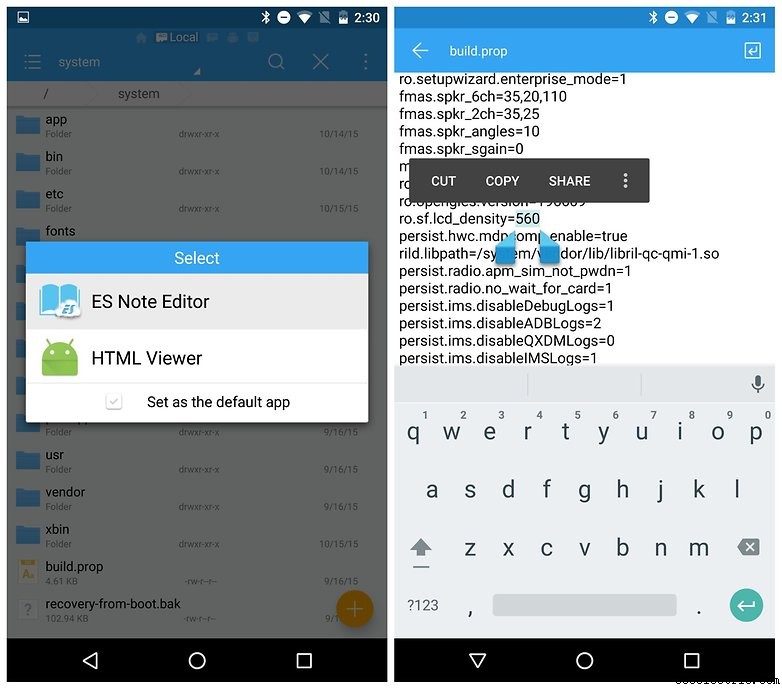
4. Scroll down, tap on build.prop and select ES Note Editor from the list to open the text file.
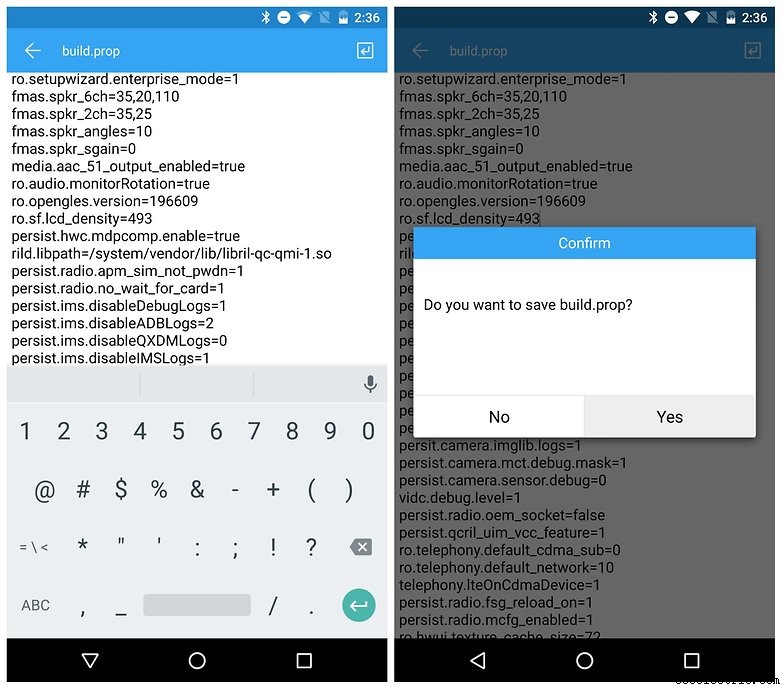
5. Tap the pencil icon to edit the file and scroll down until you see the following entry:ro.sf.lcd_density=560
6. Change the 560 to 493 (or whatever density you prefer) and press the back arrow to exit. Confirm you want to save changes.
7. Reboot your Nexus 6 to see the change take effect.
8. Again, if you want to change things back, simply repeat the process above and put 560 back into the build.prop file. You can use this method to change to any other DPI setting you want to try out as well.
Method 3:ADB and root terrify me
There's an even easier way to achieve similar results and you don't need root, a PC or ADB skills to complete it.
Simply install an alternate Android launcher and change your settings to make app icons the size you want and to squeeze as many rows in the app drawer as you like. This method lets you theme your launcher, make custom actions, folders and so on. It's a great alternative and is just as easy to undo, even if its not a system-level change.
- How to install a custom launcher on Android
Enjoy that additional screen space and let us know about other Nexus 6 tricks you'd like to see.